How Are Heavy Copper PCB Manufactured?
Heavy copper PCBs are increasingly becoming popular among electronic device manufacturers. They are widely used in various industrial and military applications, including power electronics, automotive, aerospace, and telecommunications. Heavy copper PCBs are known for their high durability, low resistance, and excellent thermal management capabilities, making them an ideal choice for high-power applications. But how are these PCBs manufactured? In this blog post, we will dive deep into the heavy copper PCB manufacturing process to provide you with a comprehensive guide.
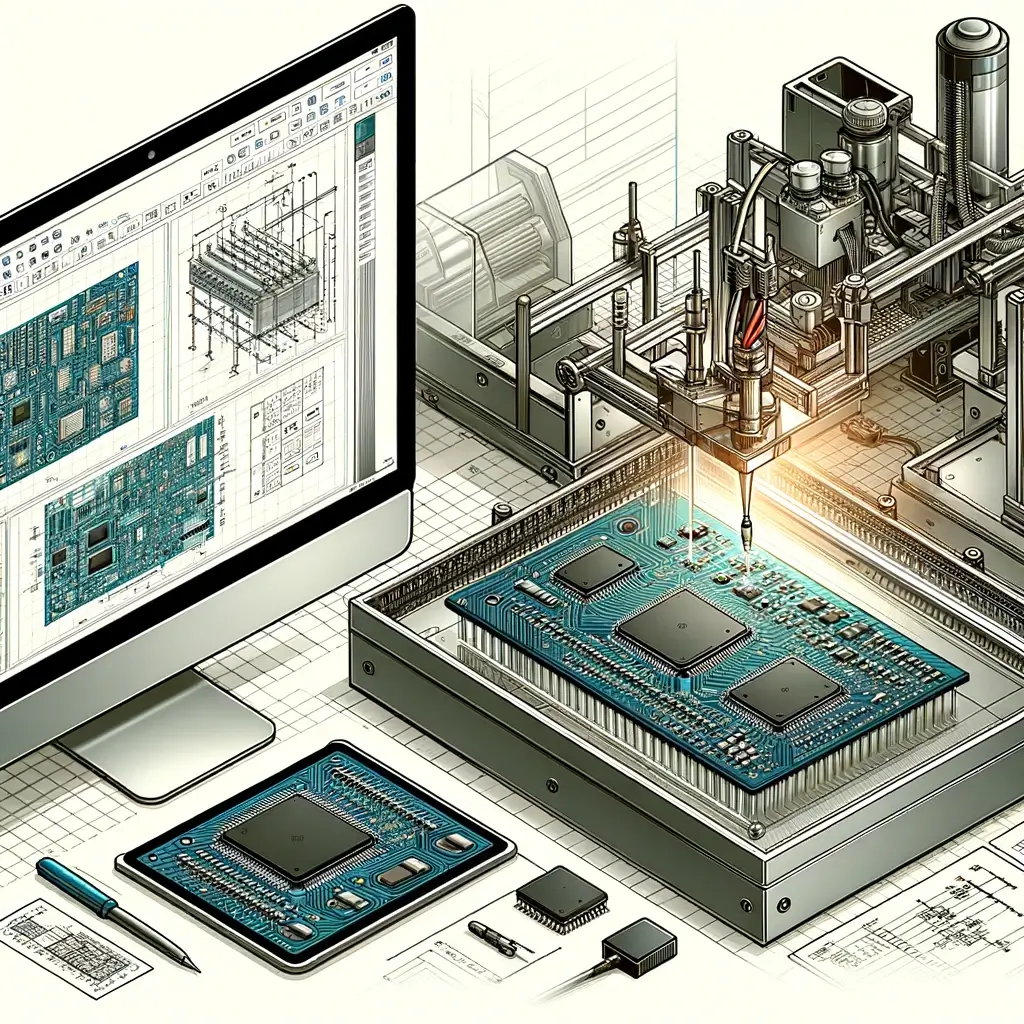
1. Design Preparation
The first step in heavy copper PCB manufacturing is to prepare the design. This involves creating a schematic diagram and a layout for the PCB. The schematic diagram is the electrical composition of the PCB, while the layout is the physical representation. During the design preparation phase, it is crucial to consider factors such as board thickness, copper thickness, and the number of layers needed for the intended application.
2. Material Preparation
Once the design is finalized, the next step is to prepare the materials needed for the PCB production process. The materials include the base material, copper foil, solder mask, and legend ink. The base material, usually FR-4, is coated with copper foil and laminated together with an adhesive. The copper thickness can vary depending on the intended application, but heavy copper PCBs typically have a thickness of more than 3 oz.
3. Drilling and Plating
After the material preparation, the next step is to drill necessary holes and plate the PCB. The drilling process involves creating holes through the laminated material, which will later be filled with conductive materials to create a circuit. The plating process involves coating the PCB’s surface with copper using a process known as electroplating. The copper thickness is increased by carrying out multiple plating cycles until the required thickness is achieved.
4. Etching and Solder Mask Application
After the plating process, the next step is to remove the unwanted copper and apply the solder mask. The etching process involves removing the unnecessary copper using a chemical solution to create desired tracks or pads. The solder mask is then applied to prevent solder bridging between the components. Additionally, the legend ink is applied to label the component positions on the PCB.
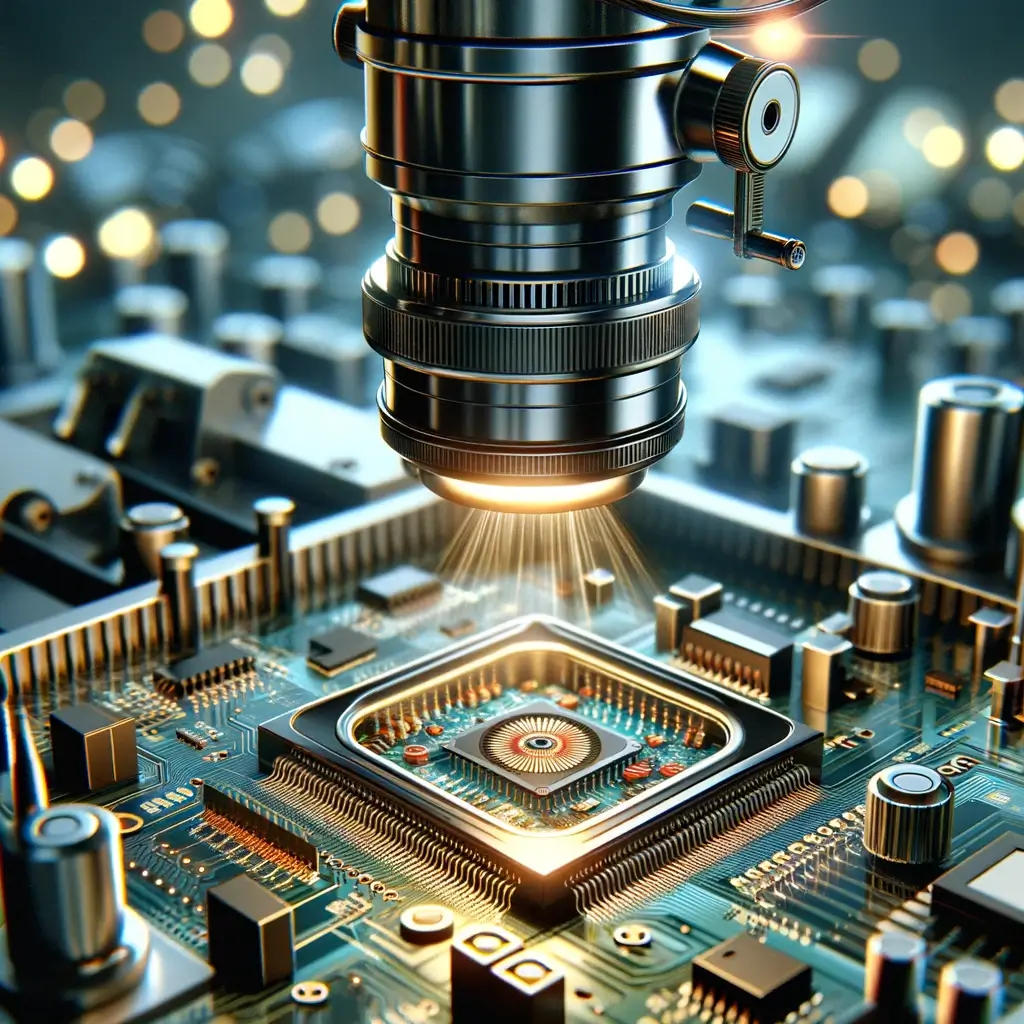
5. Testing and Inspection
After the etching process, the final step is to test and inspect the PCB for any defects. The PCB is subjected to various tests, including the electrical test, the thermal shock test, and the dimensional accuracy test. The electrical test involves checking the conductivity of the PCB, while the thermal shock test involves subjecting the PCB to extreme temperatures to check its thermal management capabilities. The dimensional accuracy test involves measuring the PCB’s dimensions to ensure that it meets the design specifications.
Conclusion:
Manufacturing heavy copper PCBs is a complex and intricate process that requires a high level of expertise and experience. The process involves various stages, including design preparation, material preparation, drilling and plating, etching and solder mask application, and testing and inspection. Heavy copper PCBs are known for their high durability, low resistance, and excellent thermal management capabilities, making them an ideal choice for high-power applications. With this comprehensive guide on heavy copper PCB manufacturing process, you can better understand the process and appreciate the efforts put into producing these types of PCBs.