A Look Inside The PCB Design Process
Printed Circuit Board (PCB) design is a critical aspect of electronics manufacturing. It involves designing the layout, placement of components, and interconnection of a PCB before it is manufactured. The PCB design process is not only complex but time-consuming, requiring in-depth knowledge, skills, and expertise. However, understanding the PCB design process is vital in developing high- quality products that align with business goals. In this blog, we take a closer look at the PCB design process and delve into the various stages involved in creating a PCB layout.
PCB design starts with a schematic.
A schematic is like a blueprint for your board, where it details the components and their interconnection. The schematic is the essential part of the PCB design process since it acts as a roadmap for getting the desired results from the PCB. In this stage, the designer works to create a high-level diagram that defines the design idea.
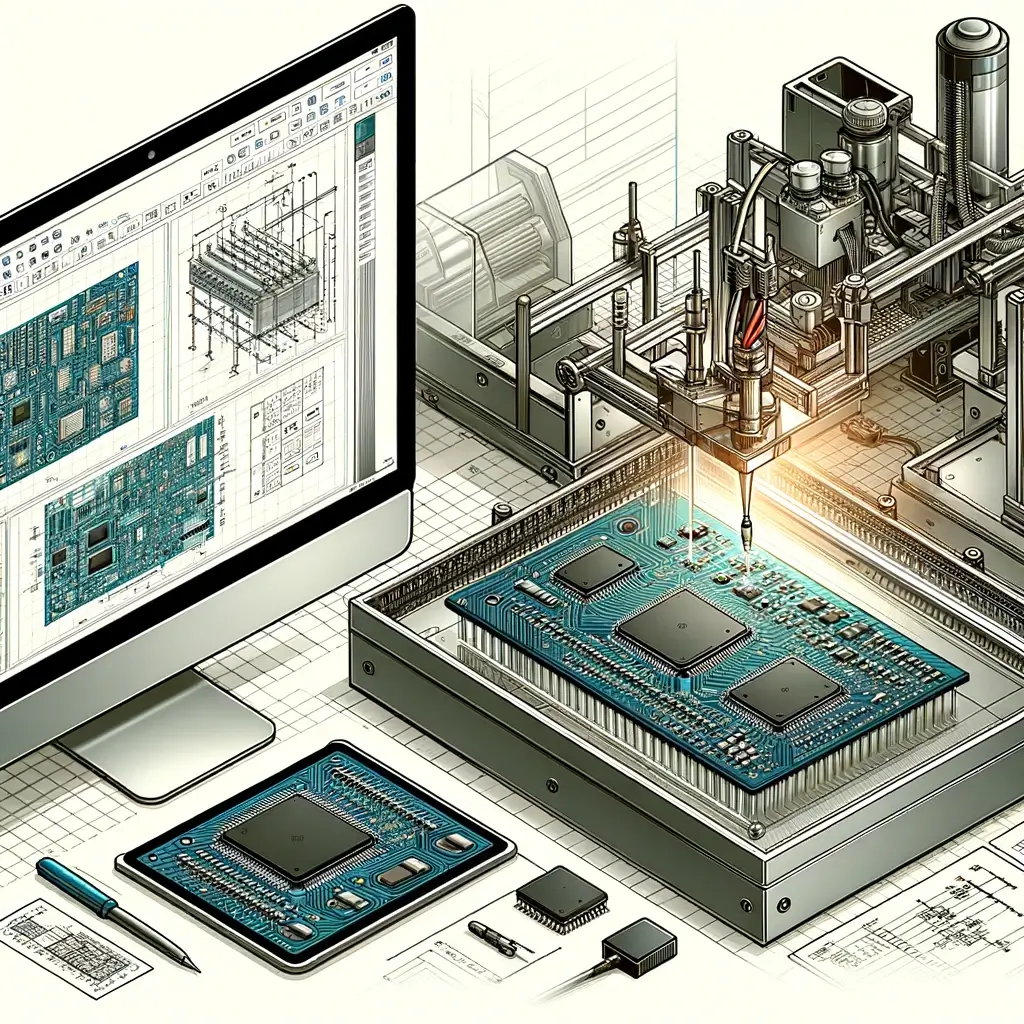
Once the schematic is complete, the next step is to transfer the design into the PCB layout.
During this stage, the designer works to place the components to account for their physical attributes while considering their arrangement in conjunction with other components. The positioning of each element affects the board’s performance, and optimal placement requires expertise and knowledge.
After the placement of the components, the next stage entails routing the board connections.
In this stage, the designer aims to connect all the components using thin copper wires known as traces. The designer must ensure that the connections do not interfere with each other, and all necessary connections should be made satisfactorily. Proper trace routing leads to better signal integrity and reduces impedance.
The next stage is to verify the design.
This stage aims to identify and correct any issues before manufacturing. One of the main tools for verifying the design is Design Rule Checking, which systematically checks whether the design meets the design control requirements and constraints. Another tool used is simulation, which models how the PCB performs under different scenarios and helps identify potential issues early.
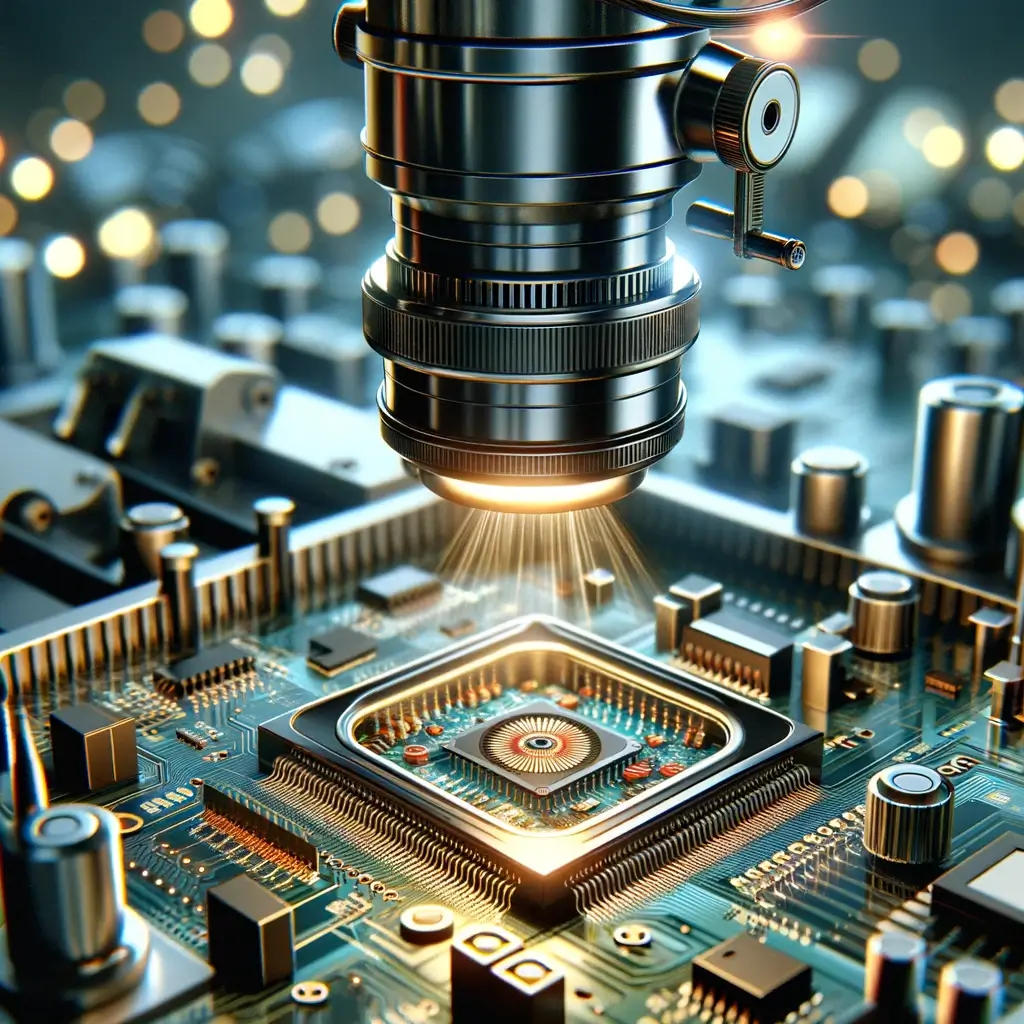
Once the design is verified, the final stage involves PCB fabrication.
This stage requires converting the design into a prototype through a process called Gerber data preparation, where Gerber files are created. Gerber files are used to guide the manufacturing process. The manufacturing process includes copper etching, plating, drilling, and silkscreen printing. After the manufacturing process, the designer tests the prototype to ensure that it functions as intended, and any necessary corrections are made before mass production.
Conclusion:
PCB design is a complex and challenging task that requires knowledge, expertise, and experience. Understanding the various stages of the PCB design process is vital in creating high-quality PCBs that adhere to industry standards. The process involves several stages, including schematic drawing, component placement, trace routing, verification, and fabrication. Each stage is essential and requires attention to detail, skills, and expertise. By understanding the PCB design process, companies can enhance their electronics manufacturing capabilities and develop products that meet and exceed customer requirements.